
Are you planning to put WordPress in a read-only mode to perform maintenance or migrations on your WordPress site?
But want to ensure that no changes are made during this time?
Learn how to put your WordPress site in read-only mode to prevent any unintended changes and ensure a smooth maintenance process.
In this article, we are going to show you how you can put a WordPress website in a read-only mode for Migration and Maintenance.
Why there is a need to put WordPress websites in a read-only mode:
On the WordPress website, you can tweak different settings and changes without stopping visitors from accessing your website.
This all can be possible only by putting the WordPress website in read-only mode. It is a good idea to put the website in a read-only mode for making big changes to your website.
There are also several reasons why a WordPress website may be placed in read-only mode:
- For Maintenance: The website may be undergoing maintenance or updates, and putting it in read-only mode prevents any changes from being made while the work is being done.
- Security: A website may be put in read-only mode as a security measure to prevent unauthorized changes or hacks.
- High traffic: If a website is experiencing high traffic and is in danger of crashing, it may be placed in read-only mode to prevent any further strain on the server.
- Performance issues: If a website is running slowly, putting it in read-only mode can help improve performance by disabling certain features or functionality that may be causing the issue.
- Backups: When the website’s backup is being taken, to ensure the backup process is not interrupted, the website may be put in read-only mode.
Now let’s see how to put a WordPress website in read-only mode:
There are several ways to put the website into read-only mode.
But here we are going to see some easiest ways to put the website into read-only mode.
There are a few different ways to put a WordPress site into read-only mode for migrations or maintenance:
1. By using the WordPress plugin:
There are several plugins available that can be used to put a WordPress site into read-only modes, such as the “Lock User Account” plugin or the “Minimal Coming Soon” plugin.
Here we are going to see both of the plugins as both are a little bit different from each other.
So, let’s get started with the plugin “Minimal Coming Soon” step by step.
Step 1: First login to your WordPress website using your user id and password.

2: Now hover over the plugin section and then click on “Add New” to add the plugin.

Step 3: Search for the “Minimal Coming Soon” plugin in the search box and then click on the “Install Now” button to install the plugin.

4: After installing the plugin click on the “Activate” button to activate the plugin on your WordPress website.

Step 5: Now after activating the plugin it will start appearing on the top bar of the WordPress dashboard.

For putting the website into maintenance mode just toggle the button to ON and the website switches into maintenance mode.

This is how you can put your website into maintenance mode. And you can make the necessary changes to your website in maintenance mode.
2. Putting the WordPress website into read only mode using the “Lock User Account” plugin:
Now let’s see how to put the website into the read only mode using the “Lock User Account” plugin.
The installation process of the “Lock User Account” plugin is the same for all the plugins.
Follow the above steps for installing and activating the plugin to your WordPress website.

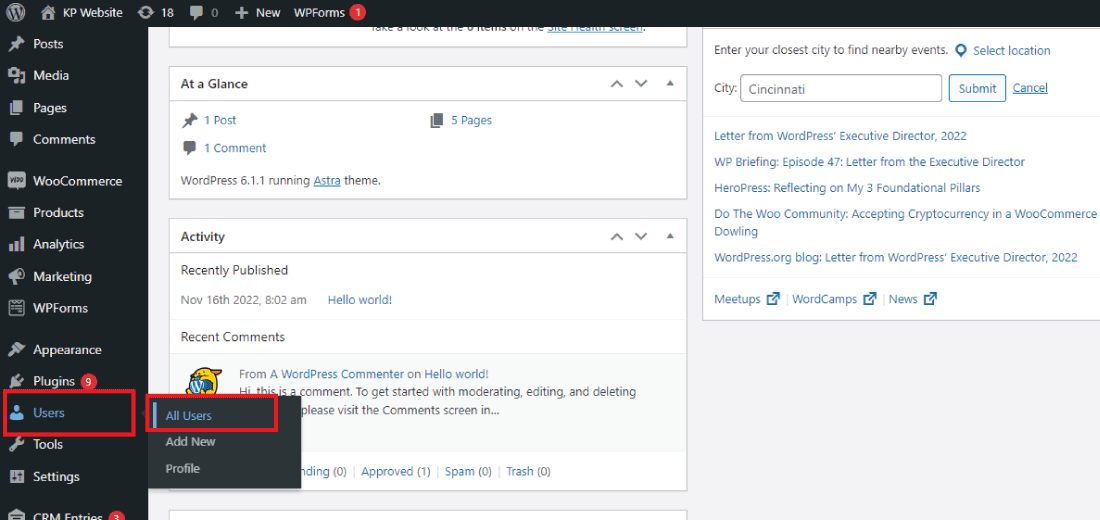
After the successful activation of the plugin, Now goes to the user’s section and then click on “All Users”.
All the users will appear on your screen, now you can set the user to lock. So that they can get read-only access to the website.

After selecting the users and choosing the lock option from the drop-down box. Now click on the “Apply” button to save the changes.

Now the user which you have set to lock, they are not able to make any changes by login into the website.

They can only read and see the content on the website.
This is how you can put your WordPress website in a read-only mode for the website users.
3. Putting the WordPress website into read-only mode using Codes:
You can also put your website into read-only mode using the codes.
This method is for experts who had some coding knowledge or you can hire a WordPress developer.
It is done by adding custom code to your theme functions.php file.
Use the code in the functions.php file: Add the following code in the functions.php file of your active theme.
function wp_maintenance_mode(){
if(!current_user_can(‘edit_themes’) || !is_user_logged_in()){
wp_die(‘Maintenance.’);
}
}
add_action(‘get_header’, ‘wp_maintenance_mode’);
Please make sure to take a backup of your site and test the read-only mode before applying it on the production site.
These are some of the easiest methods you can use to put your to Put WordPress in a Read Only Mode for Migrations and Maintenance.
In conclusion, there are several ways to put a WordPress site into read-only mode for migrations or maintenance.
Whether you choose to use a plugin, a .maintenance file, a custom plugin, or code in the functions.php file, it is important to test the read-only mode before applying it to a live site.
Remember to always take a backup of your site before making any changes. With these methods, you can ensure that your site is safe and secure during migrations or maintenance.
For any technical help, you can contact us.
